Where my Warhammer world is designed and created

Before I begin posting articles on how I design and put together my Warhammer hobby world, I thought it would be prudent to write a post on the basic setup of my workstation.

Even though I have been involved in this hobby for a several years now, I still prefer to keep a simple, tidy workstation. Maybe this proves I am a little OCD. But, it does have some practical motivations. First, I have a local tribe of marauding snotlings that run around my house. This self-contained kit is a means to keep my projects and supplies from getting scattered to the four winds. Secondly, it makes it easy to keep dust the dust off my models and supplies, and be able to clean my table whenever it seems necessary. I live in a desert with ample dust in the air.
Another motivation for this setup is that my hobby station (card table) needed to share the same space as my homework station while I was in college. This setup is easy to move, or re-tool for different purposes.

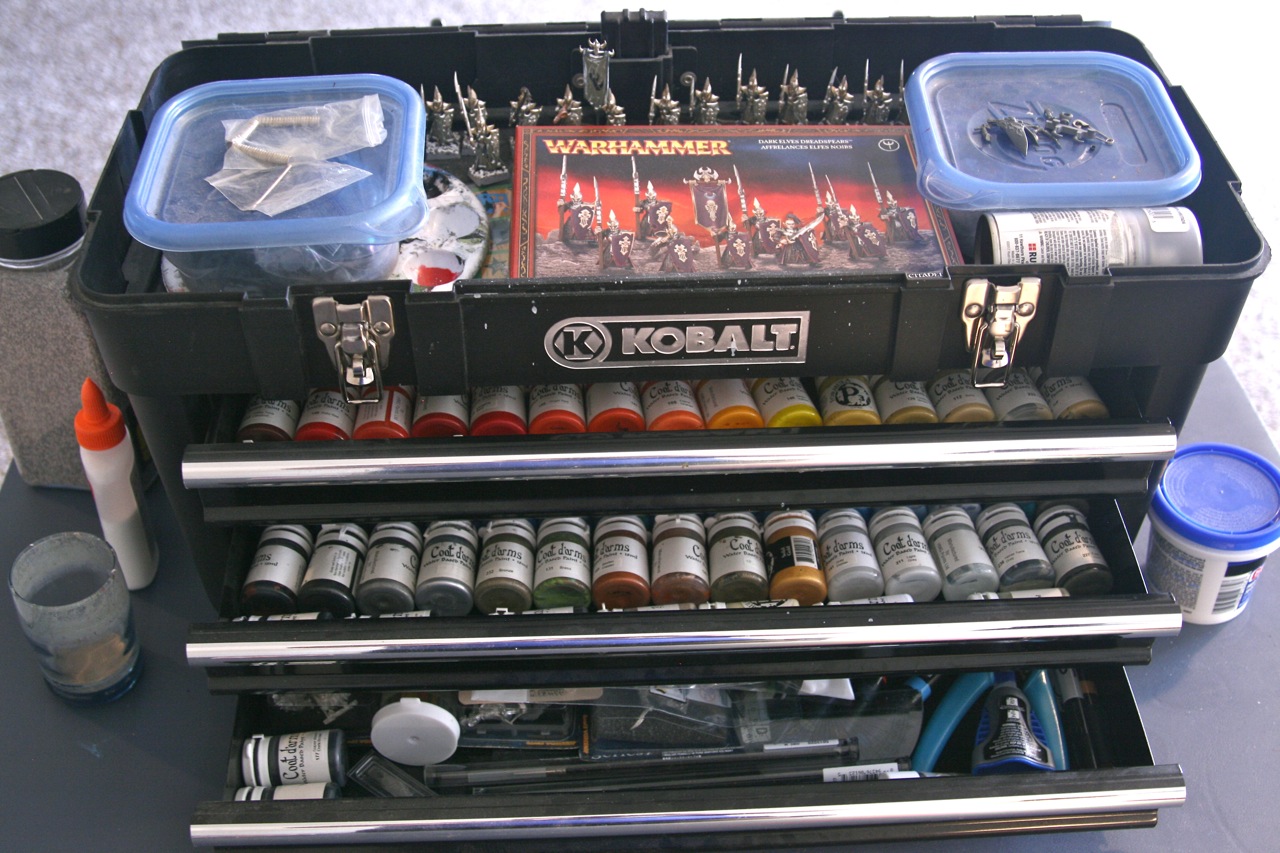
You probably noticed that the central focus of my workstation is this tool box or kit. Except for my lamp, and a few large items, everything I need is contained within the kit. It has a flip open lid, and three drawers. This particular kit is made out of durable plastic, except for the drawers, which are metal. The carry handle is very sturdy, which is important, since I have this thing loaded up heavy. Once again, this kit speaks portability. I can easily take the entire kit wherever I want to take it. Sometimes I have taken the kit to the local hobby shop to work on models while other people’s games are in session.
Shall we open the lid?

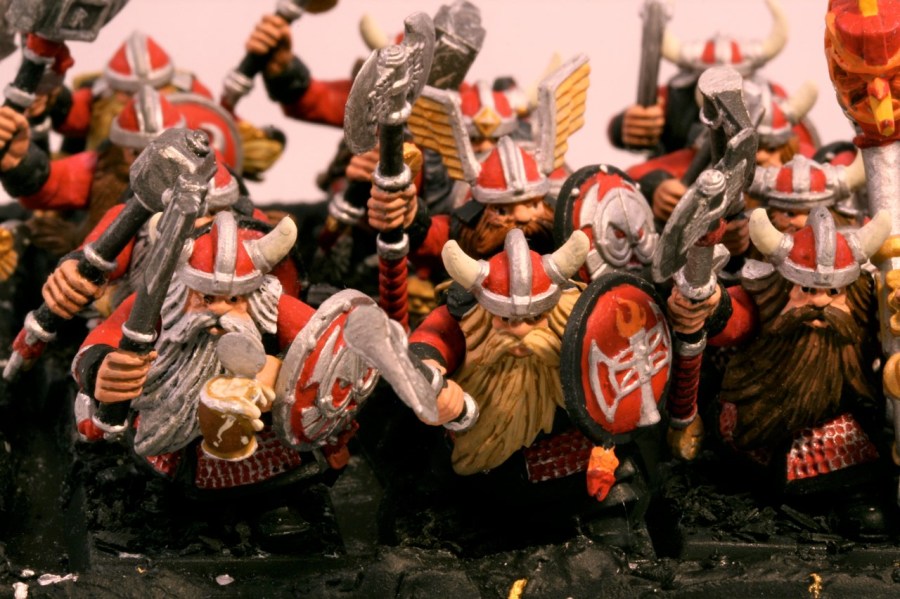
I use the lid to hold a number of large items. This includes the model kit that I am currently working on. In this case, you can see that I was building a unit of Dark Elves Bleakswords. The lid makes a convenient place to store completed models. I don’t have to worry about dust accumulating on my finished models there. I generally keep models there until the unit is completed, and then I can make a movement tray to finish the unit. You can also see that I have plastic tubs. They hold the spare bits I use to create my models. I have a plastic tub for each army. Or, I may double up armies in one container, but keep them separate with plastic bags inside. I can keep tubs of army bits that I am not currently working on in another location. Other items inside the lid include a spray can of clear coat. I have bags of rare earth magnets. There is a palette for mixing paint colors. I also have some magnetic sheets under the box of Bleakswords.
One thing I like about this particular box is that when I close the lid, there is extra clearance under the lid above the lower lip. This helps facilitate taller models sitting in this compartment without fear of getting smashed when I close the lid.
So what’s inside the drawers?

Colors. Lots of them. The top drawer holds my reds, oranges, yellows, browns, tans, and greens. There’s 53 in this drawer to be exact. As you can see, I mainly paint with Coat d’Arms Paints, supplemented with P3. I started with Citadel paints when I began the hobby several years ago. But, when Citadel changed paint bottles, and paint names a few years back, I decided to go with Coat d’Arms. I read good reviews about them, and I thought the color names were most similar to the old Citadel names, which made ordering them less guesswork. At the time, I didn’t realize that P3 paints and Coat d’Arms were made by the same producers. So, now I don’t mind adding P3 colors where I think Coat d’Arms has missing shades. I like the containers with flip lids. I think they seal rather well, keeping the paints in good condition for a long time.
What’s in drawer #2 ?

More colors. 53 more. This drawer holds my whites, blacks, grays, blues, purples, metallics and skin tones. Both drawers put together give me over 100 shades without mixing. It seems to be plenty for my purposes and abilities. Yes, I would like to have space for a few more shades. I have most of the shades from the Coat d’Arms fantasy range, but few from their military range. But, I’m very happy with the amount I can easily store within the two drawers of this box. The container labels are fairly easy to read, however, I have found that the label ink eventually fades away by the end of the bottle’s life. I typically place each shade in the same spot to prevent any confusion with faded prints.
So, what’s in drawer #3 ? More colors?

Nope. Tools. Well, I guess there’s a few paints in there. I have a couple of ink washes, plus I store colors in this drawer when a color in the upper drawers is running low. When a color is empty I have a new one in this drawer ready to go. I clearly have no room for reserves in the two color drawers. Nevertheless, the bulk of this drawer is tools. Brushes, blades, cutters, glues, putty, pens, toothpicks, rulers, pin drills, files, etc. There’s also bags of bases of different sizes. For the sharp eyes, I actually do have a few old blister packs of Gondor minis in there too. I should probably remove those and store them in my LotR box. All the tools and supplies I need on a regular basis are stored in there.
I absolutely love this kit. I think the small investment has paid dividends in organization, efficiency, and morale. I rarely have to search for tools, or wonder if I’m missing my favorite shade. I am the type of person that not only enjoys my craft and strives for good results, but I want my crafting process to also look good at the fabrication level. I think having a nice kit boosts morale, and outsiders are less apt to write off your hobby as a pile of junk or a disheveled mess. Obviously, this kit does not contain bulk items. I have a storage tub elsewhere that contains all my varieties of base gravel, flock, large spray cans of primer or glue, etc.
The main purpose of this post is to not to toot my own horn, but to share ideas with others that may be looking for different solutions for their kit. Hobby workstations come in endless varieties of configurations. This is just an example of what you can do if you are like me and desire portability, organization, and efficiency. I also wanted to use this post as a building block for future articles from The Forge. All articles under The Forge heading will be geared toward how I do my craft and share my ideas and methods. I can’t promise that I have any new crafting ideas to share, but I hope my posts under this heading will be resourceful to you. Happy Wargaming!

I really appreciate this post. I keep my workstation clean and orderly for similar reasons but I am not nearly as efficient with my space as you are! I guess I assumed more space = better work.
LikeLike
I have the option now to move to a larger space, but I’d be isolated from the rest of the household. I think I will just keep using what I’ve got. Using the family room also plants the seeds for the next generation of wargamers. I dream of future family gatherings consisting of at least one late-night, mega Warhammer battle. There will be plenty of armies to choose from.
LikeLike
Great post, the snippet on the EEFL forum didn’t do it justice and I’m glad someone else appreciated the cote paints as much as I do (even if I do tend to use a combo of these and GW)
LikeLike
Yea, I try to keep my EEFL posts brief since I’m not familiar with the financial burden on whoever is funding it. I really like Coat d’Arms paints, but they can be hard to find in the US.
LikeLiked by 1 person
Pingback: The Forge: Make Magnetic Movement Trays – Bone Pile Miniatures