
Do you want custom-sized and custom-painted movement trays for your Warhammer units? How about magnetic and extra sturdy? Article 2, from The Forge will show you how I make my magnetic movement trays for Warhammer units. Lots of photos!
If you missed Article 1 from The Forge, I introduce you to The Forge with how my Warhammer workstation is set up and why.
Articles from The Forge will focus on how I build my Warhammer world, in a how-to fashion. My focus audience is new wargamers. But, maybe veteran wargamers may learn a few tips as well. The method I will demonstrate here is not my original idea. I do not remember where I learned this method. But, my objective with this article is to provide possibly the most thorough resource available on how to create magnetic movement trays. So let’s get started!
Tools and supplies needed: Steel sheet metal, metal shears, black Sharpie, straight edge, wire brush, pliers, metal file, paper cardstock, superglue, sprues, diagonal cutters, hobby knife, spackling paste, paint to suit, clearcoat spray.
Time needed: 3 sessions of an hour, give or take
Session 1: Basic structure
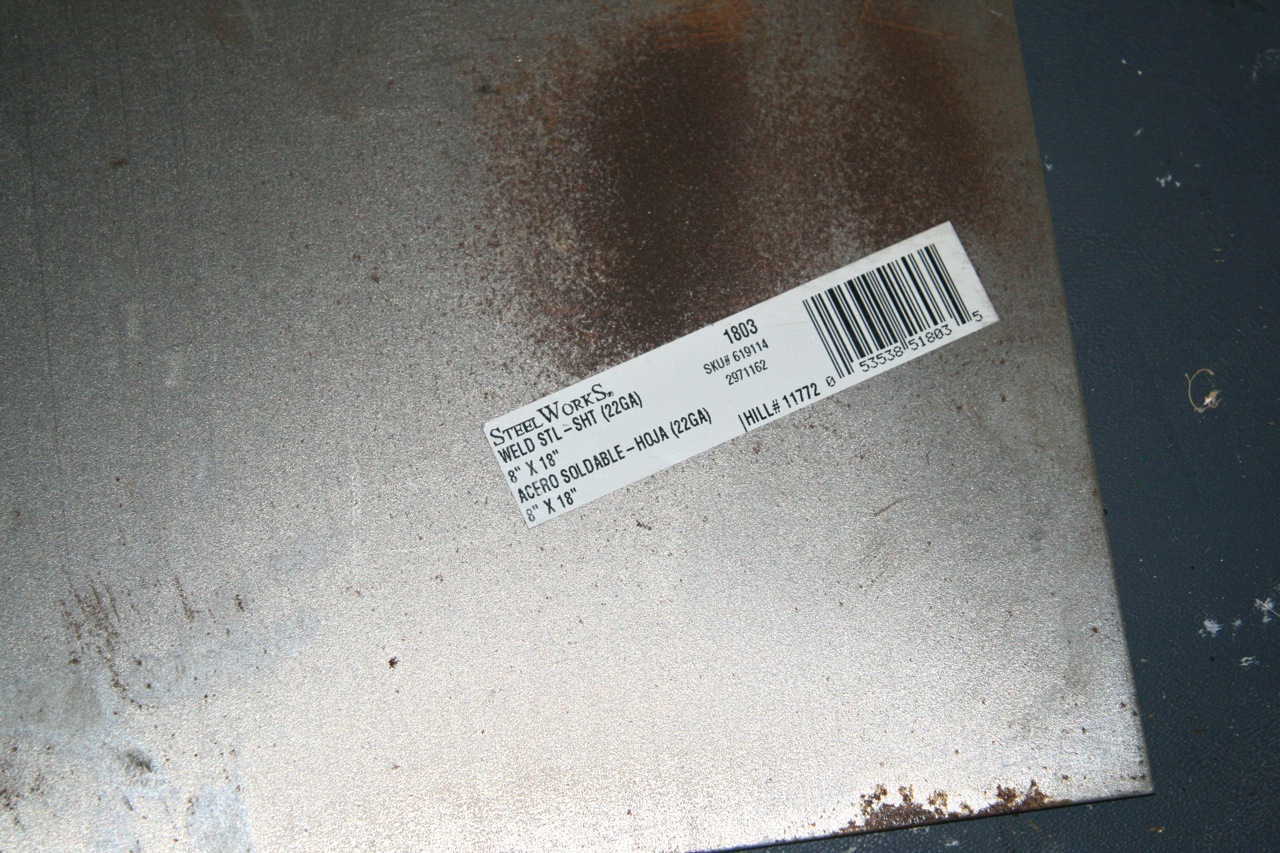
Start with a sheet of thin metal. Steel is preferred for its magnetic properties and rigid strength. Grab a pair a metal shears that are rated for the metal thickness you will be using. Acquire these from any hardware store. No need to spend much.

For my trays, I use 22 gauge steel.
Place your unit of warriors on the sheet. You will want to give yourself some room on the edges to build the tray fences. I give myself about 1/2 an inch on each side. One of the advantages of making your own trays is that you can give your warriors a little extra elbow room for large weapons, and dramatic poses. As you can see, there is a little wiggle room between each of the models. This tray will be for a unit of 20 Dark Elf Bleakswords.

Draw some lines where you will cut and trim metal material. A black Sharpie works well.

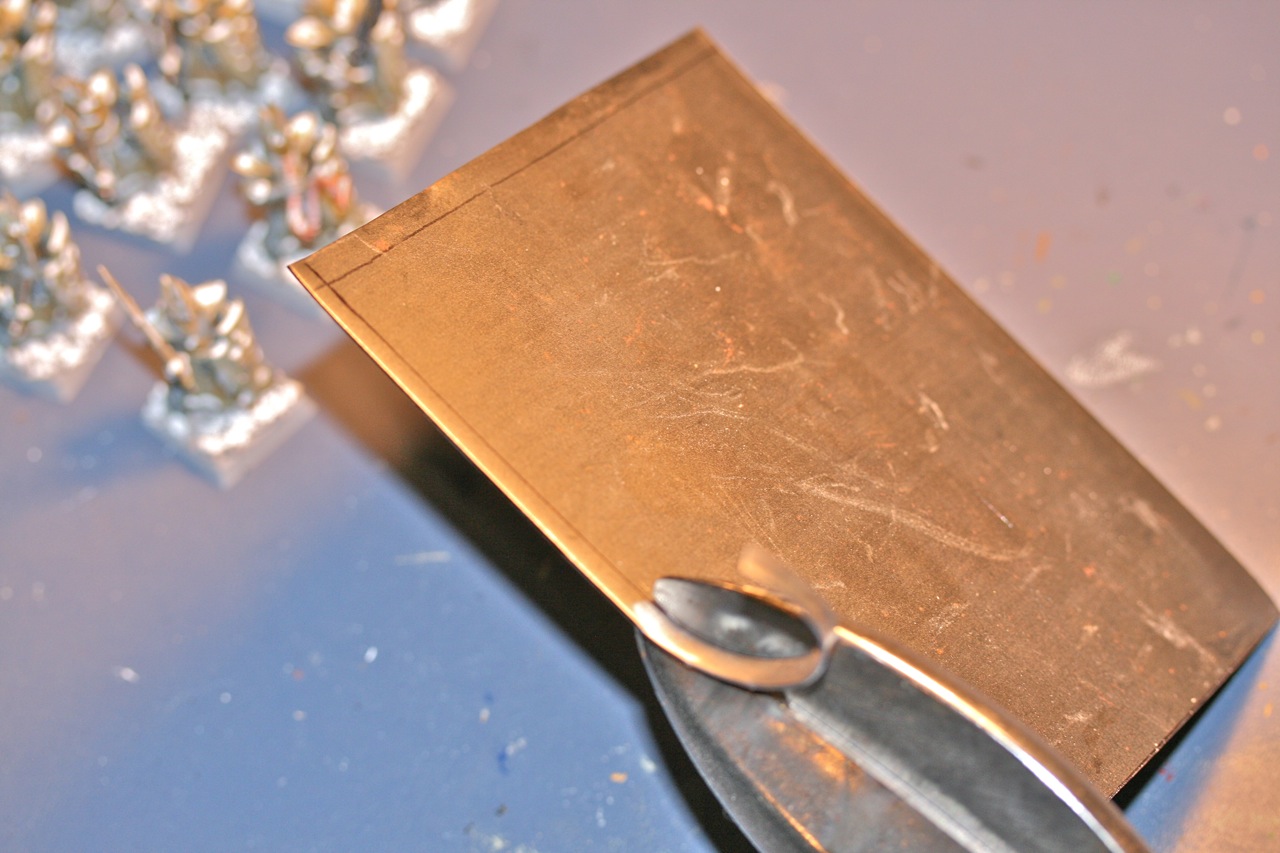
Cut the sheet metal with the shears on your lines.

Trim excess metal to the dimensions that suit best.
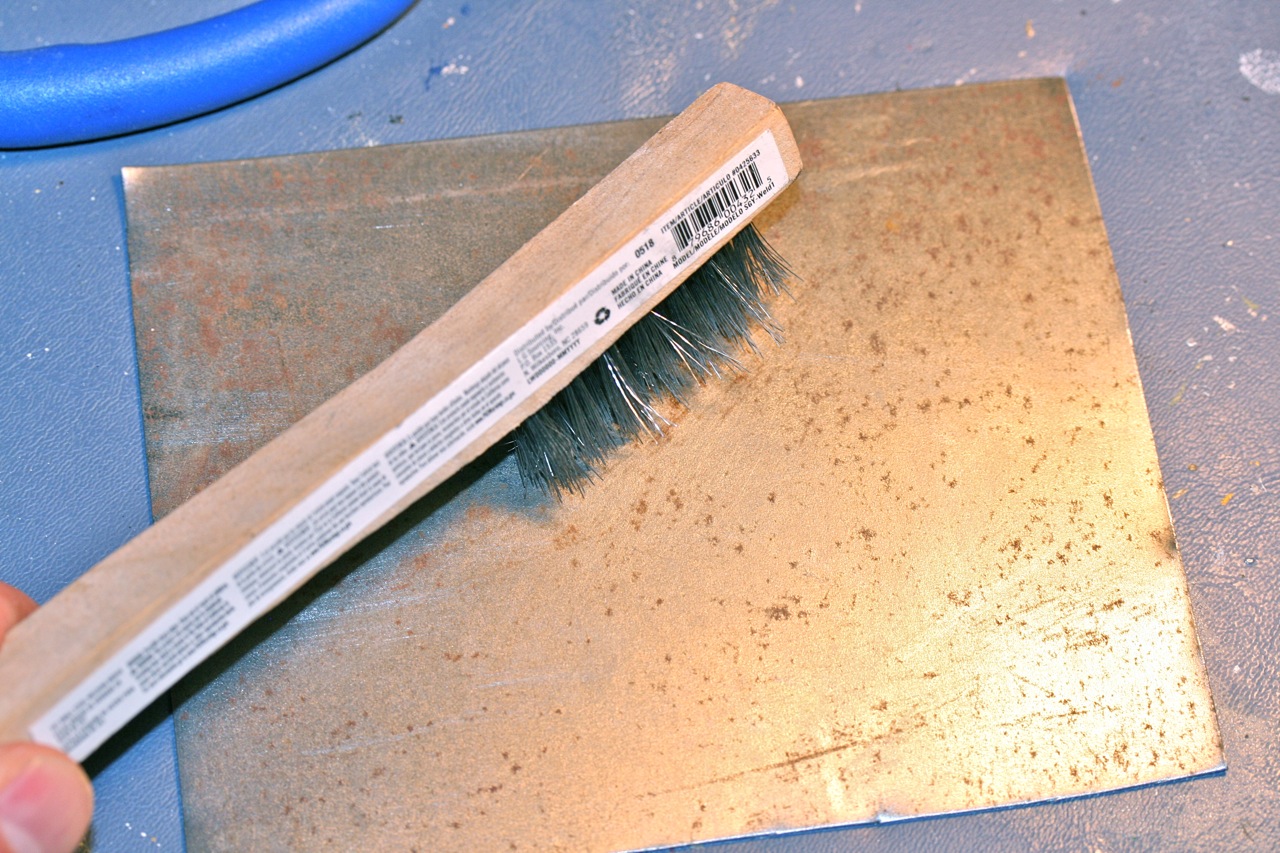
I recommend using a wire brush to clean up as much rust as you can. Clean up both sides.
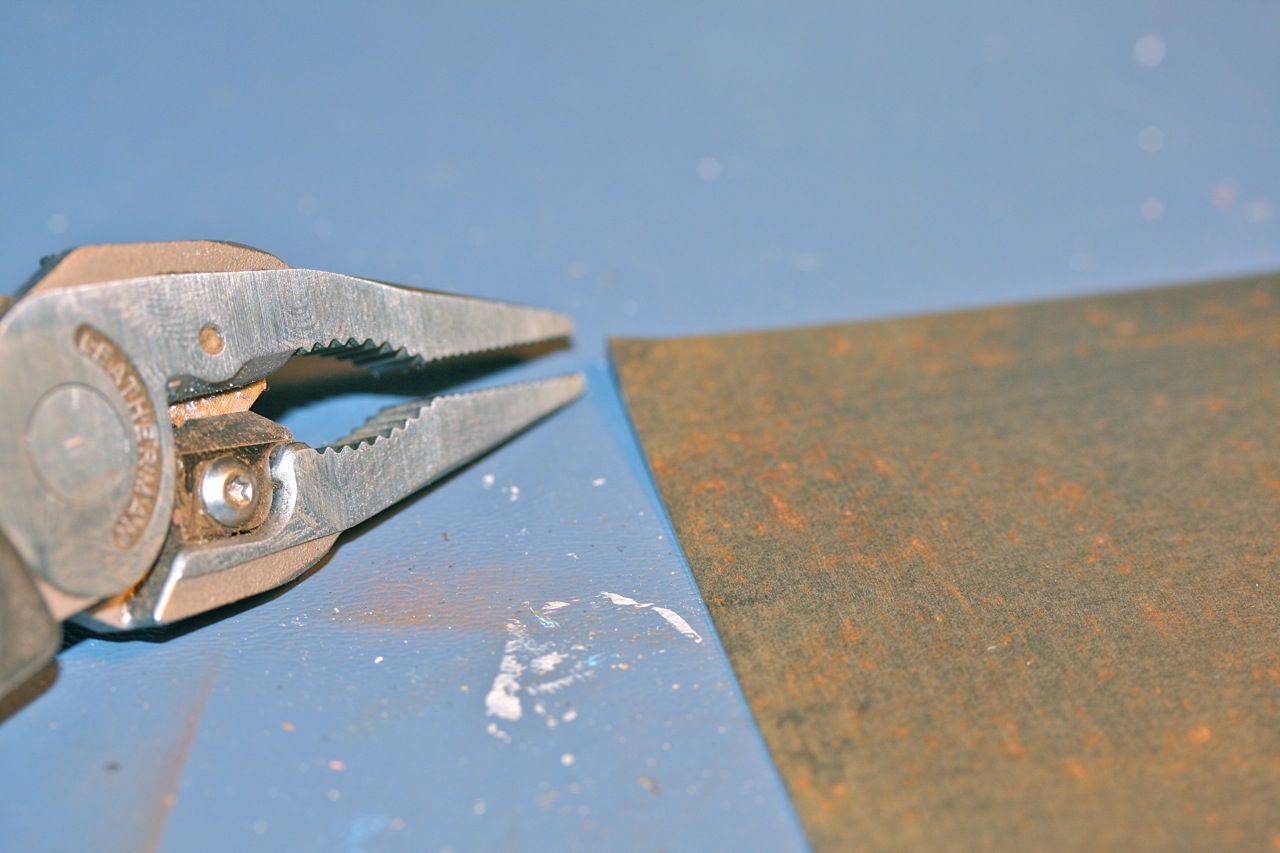
Use some pliers to bend the sheet metal as flat as you can. The metal shears typically bends up the corners and some of the edges. The goal is to shape the metal so it can slide freely on the game table without hanging up or scratching the table.
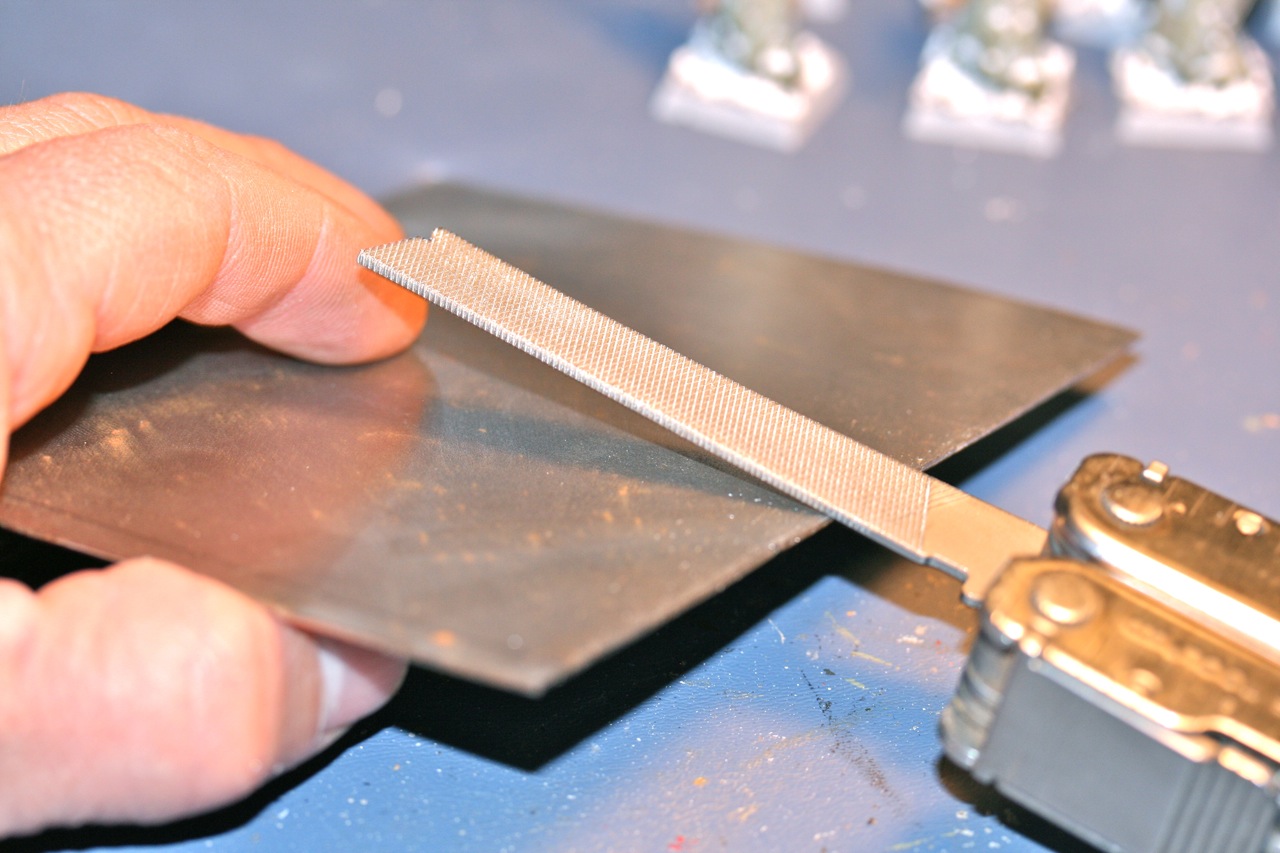
Use a metal file to shave off any other burrs or sharp edges. This step will help save your skin and the gaming table. Quickly hit all the edges and corners.
Choose one side of the metal to be the bottom. Trace the tray onto a sheet of paper cardstock.

This paper will be the bottom of the tray. It has two main functions. 1: It helps hide the raw metal material. 2: It further protects the gaming table from metal edges. Glue it down. I use LOCTITE Superglue.
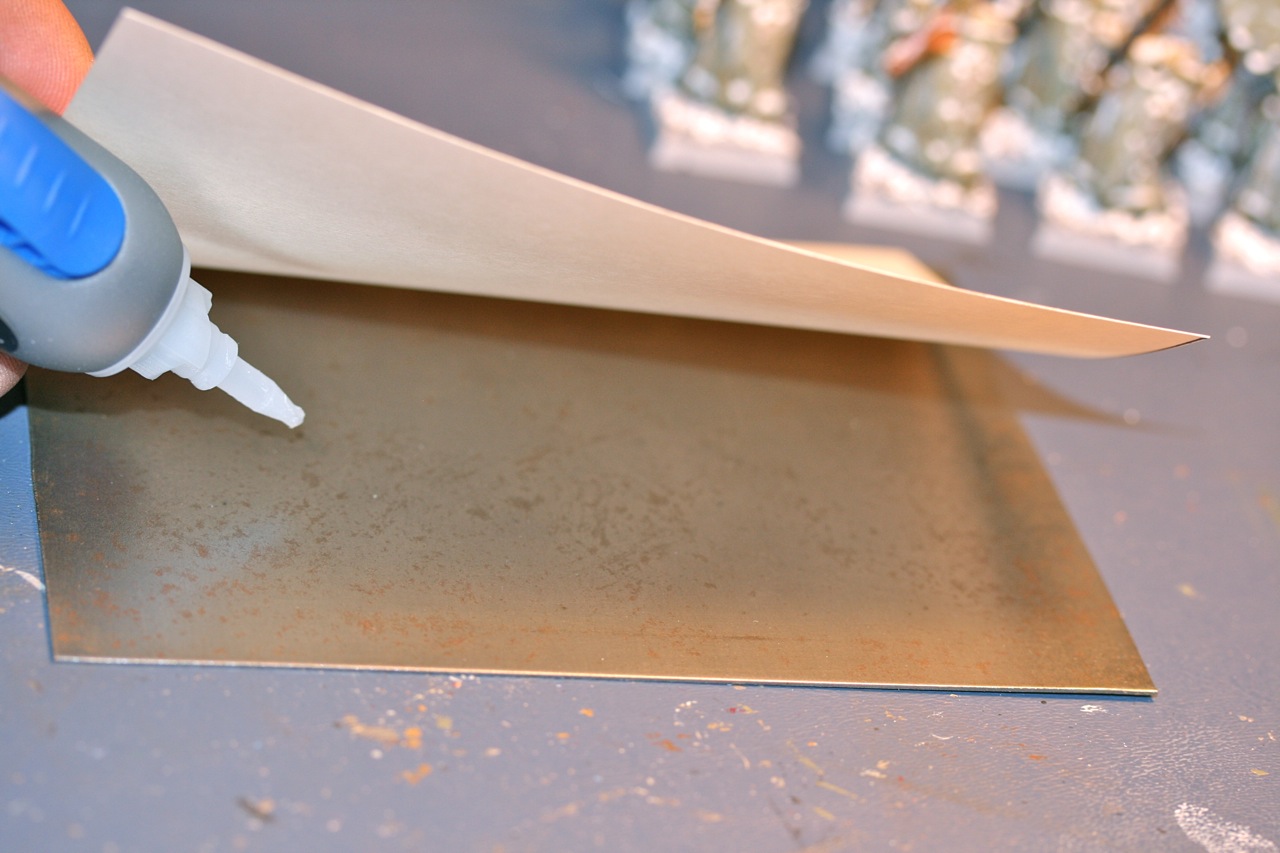
It’s okay to allow the cardstock to exceed the edge of the sheet metal just a little bit. In fact, I prefer it this way. This allows me to straighten up any edges that were not cut very straight with my metal shears.

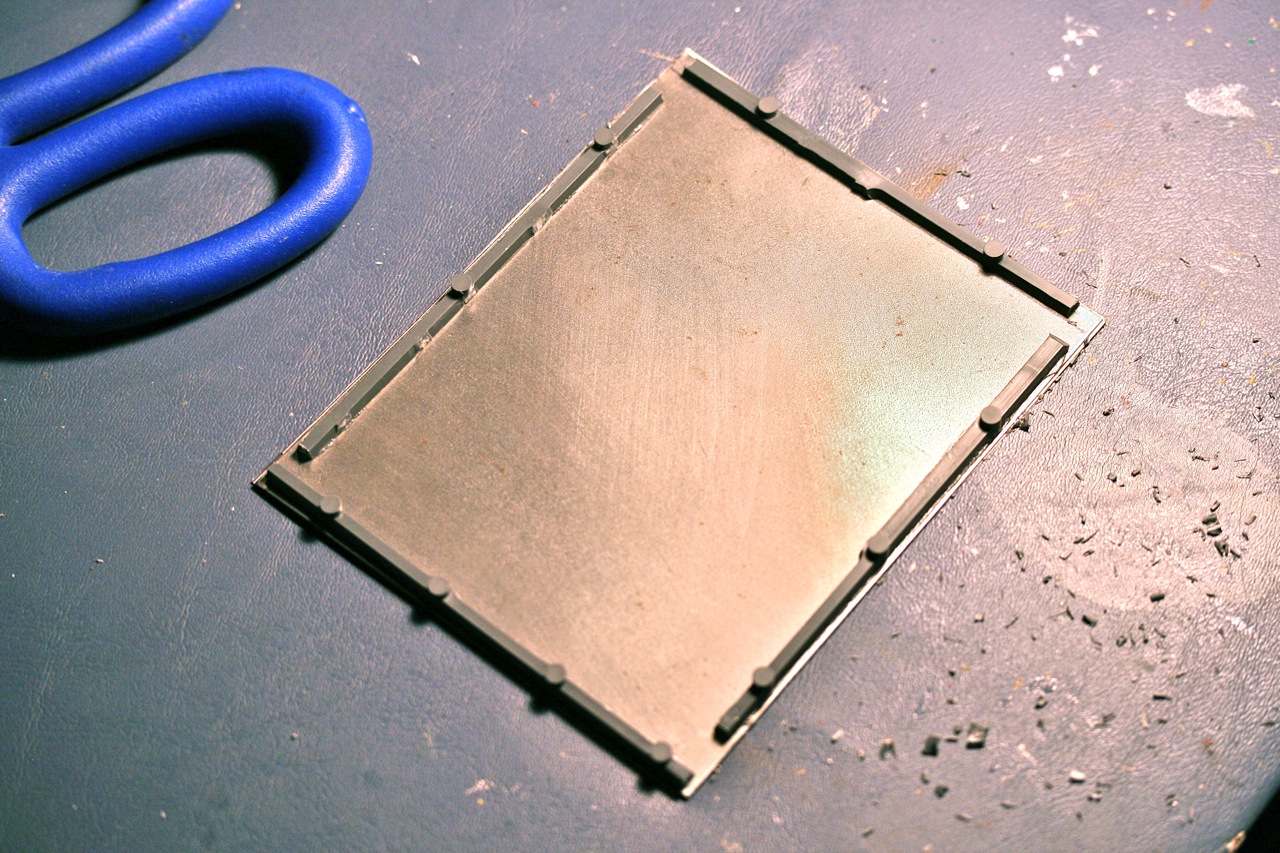
The bottom of the tray is done. It looks clean, square and solid.

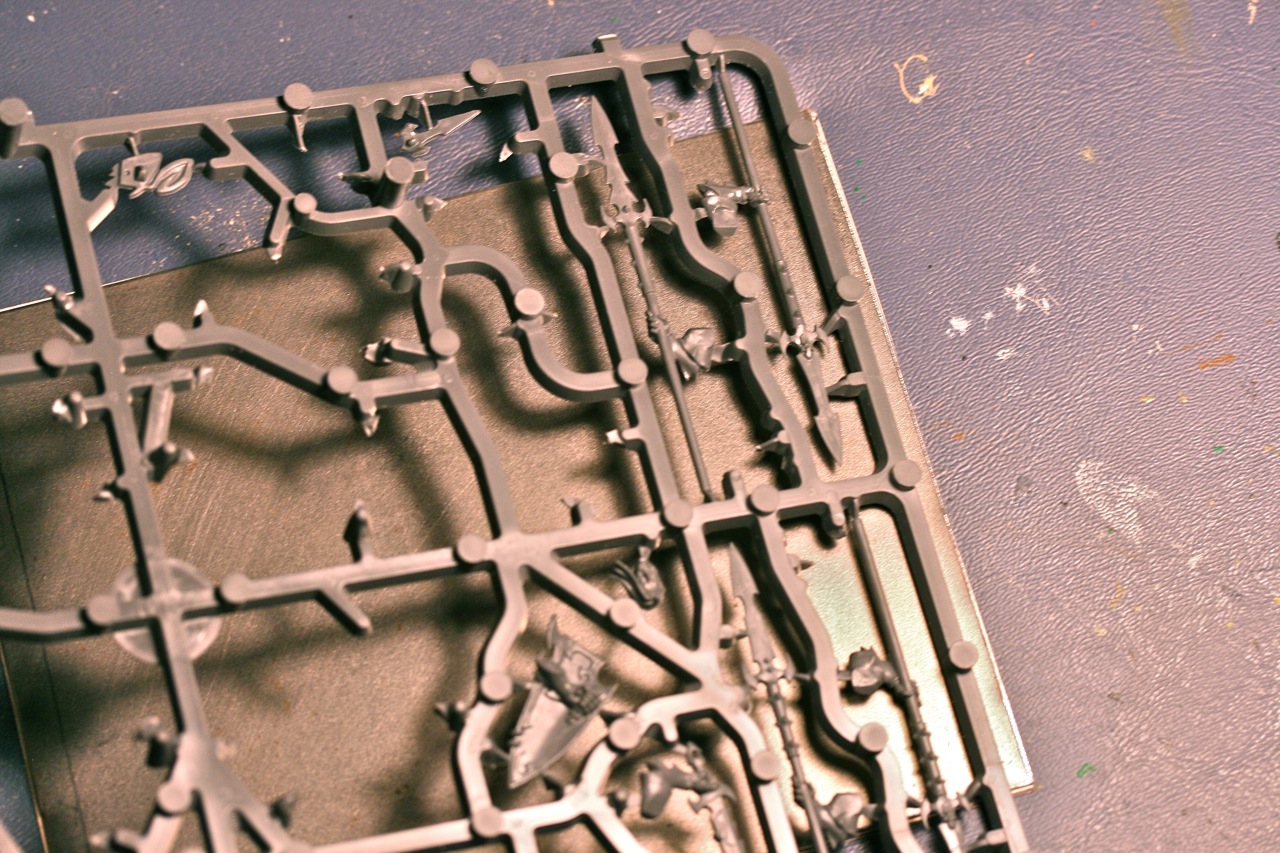
For the top, we will use sprues from a miniature kit to build the tray fences.
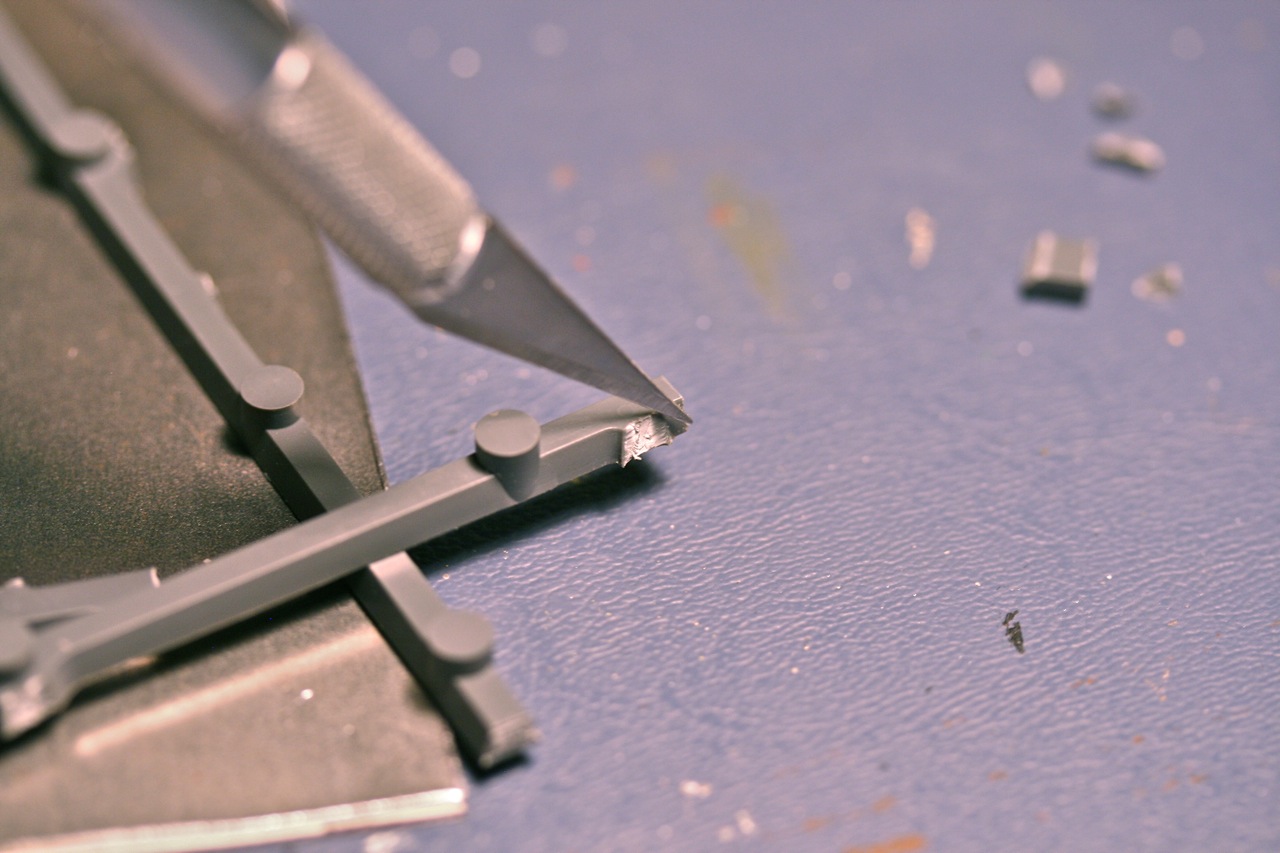
Use some diagonal cutters to cut enough sprue pieces to surround the perimeter of the tray.
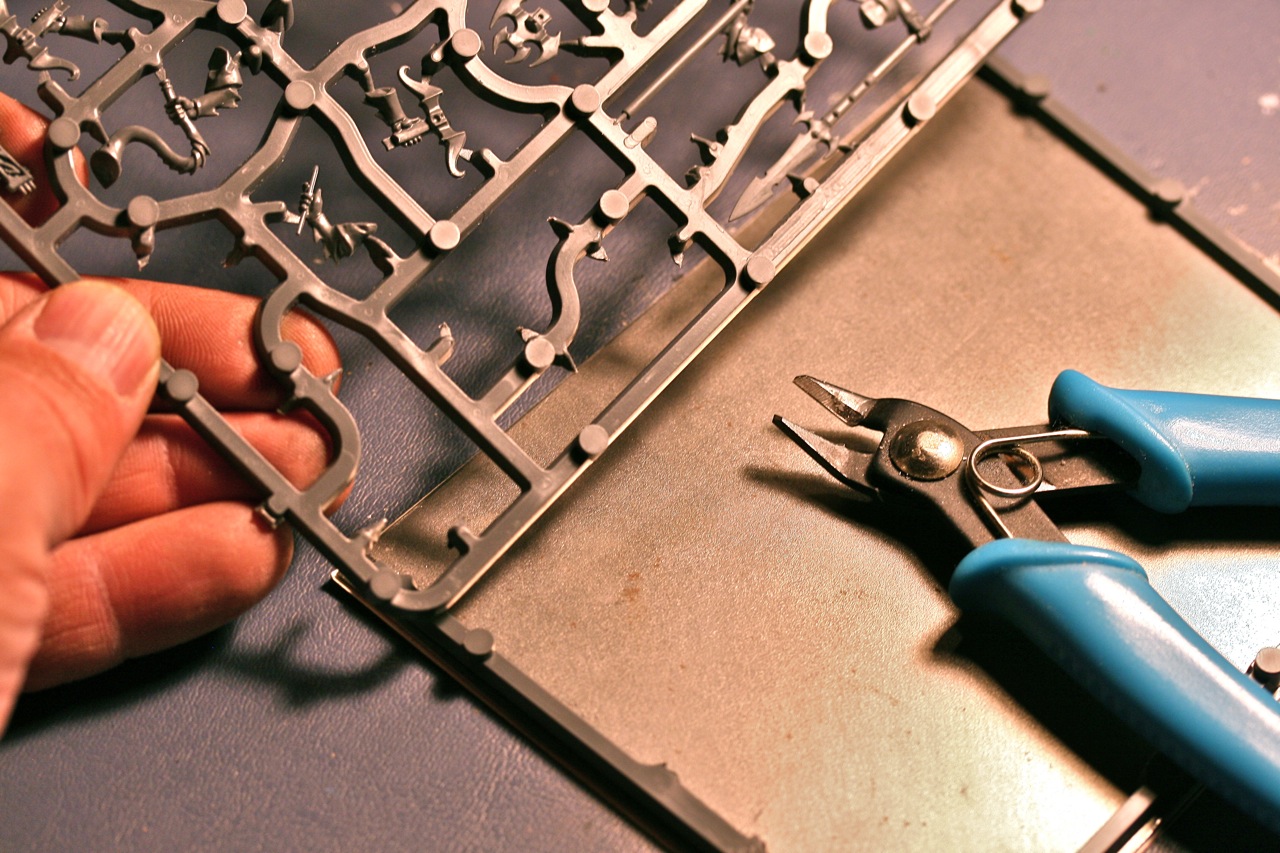
Small gaps between sprue pieces are acceptable.

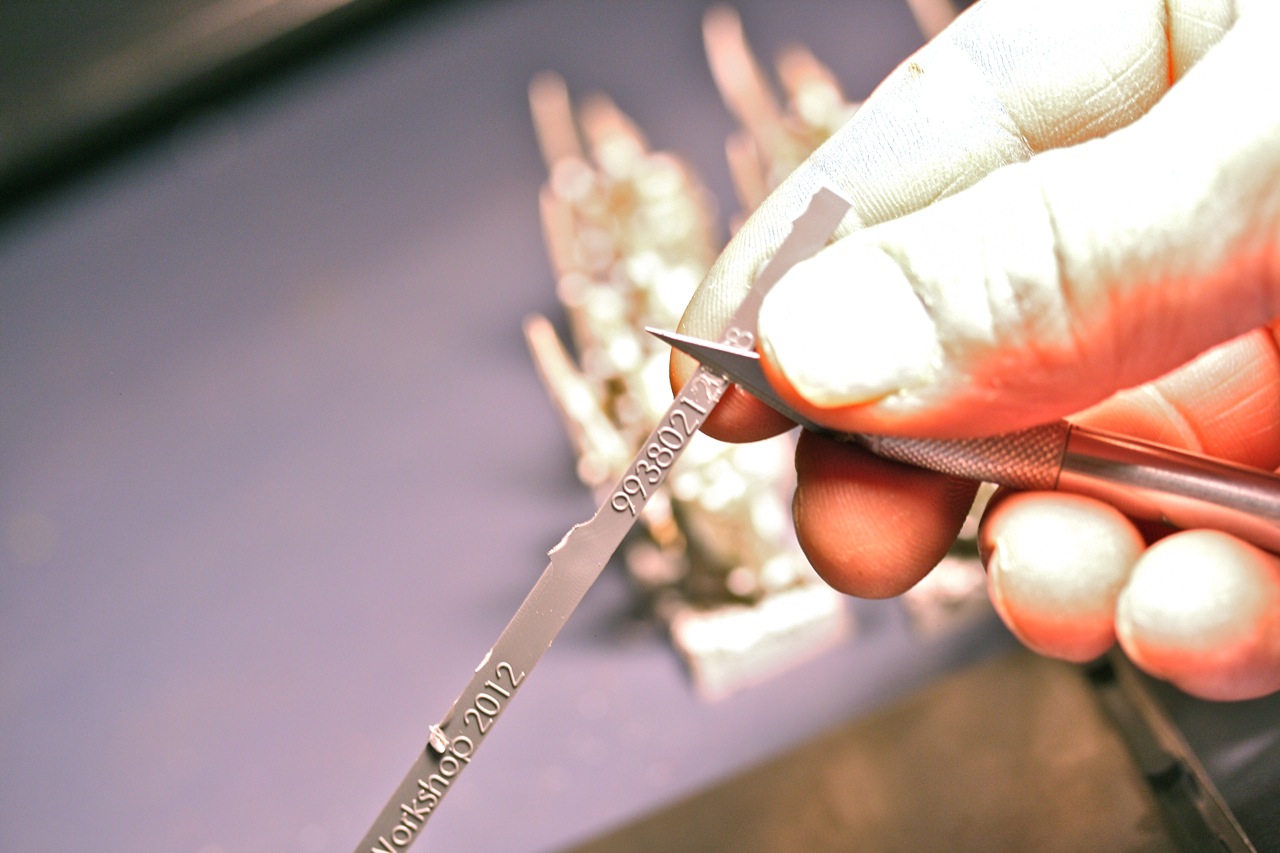
Clean up the sprue pieces. There may be some raised letters on the bottom. Shave them off with a hobby knife.
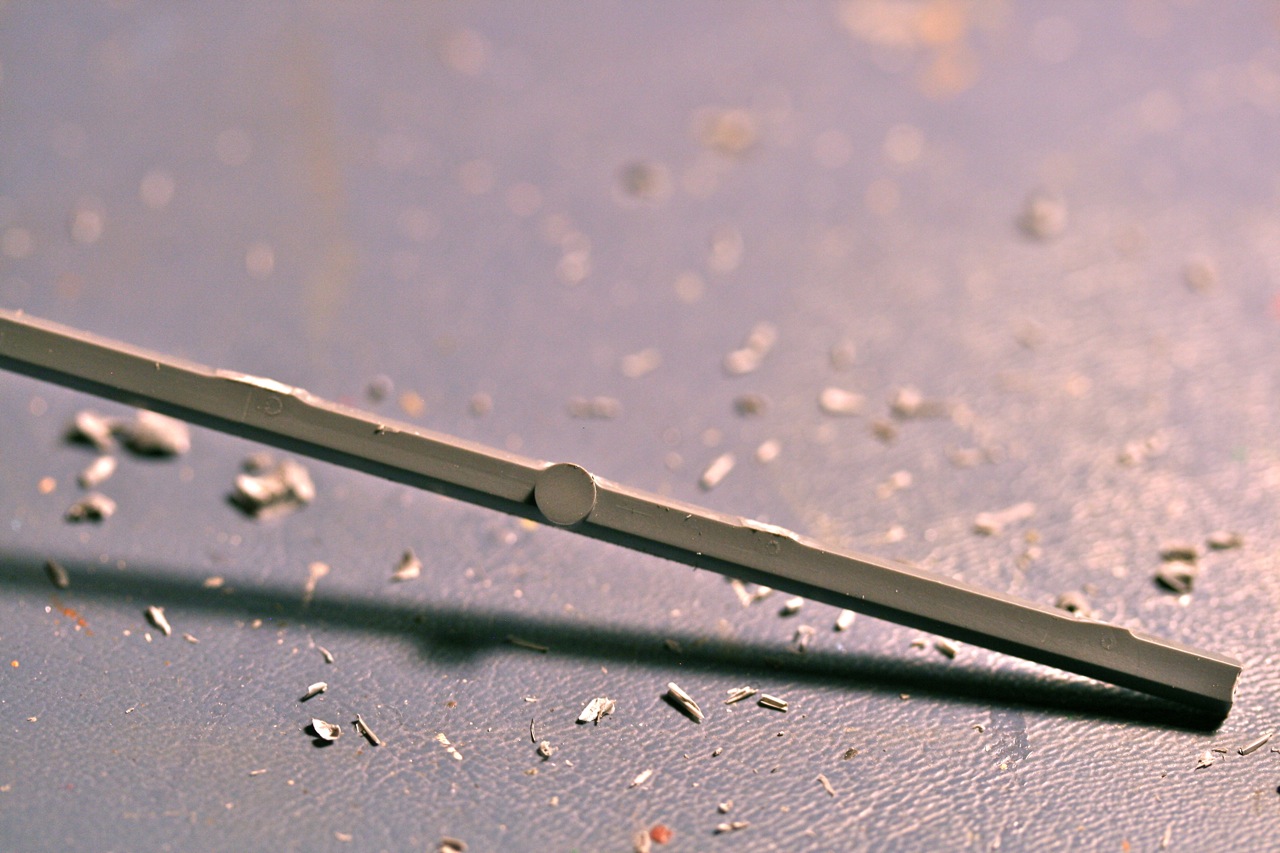
Clean up the side faces. You don’t want extra material occupying space on the inside of the tray where the models go. I prefer to let the vertical bumps remain in tact.
This one looks ready. Clean them all up like this.
Apply superglue to the bottom.
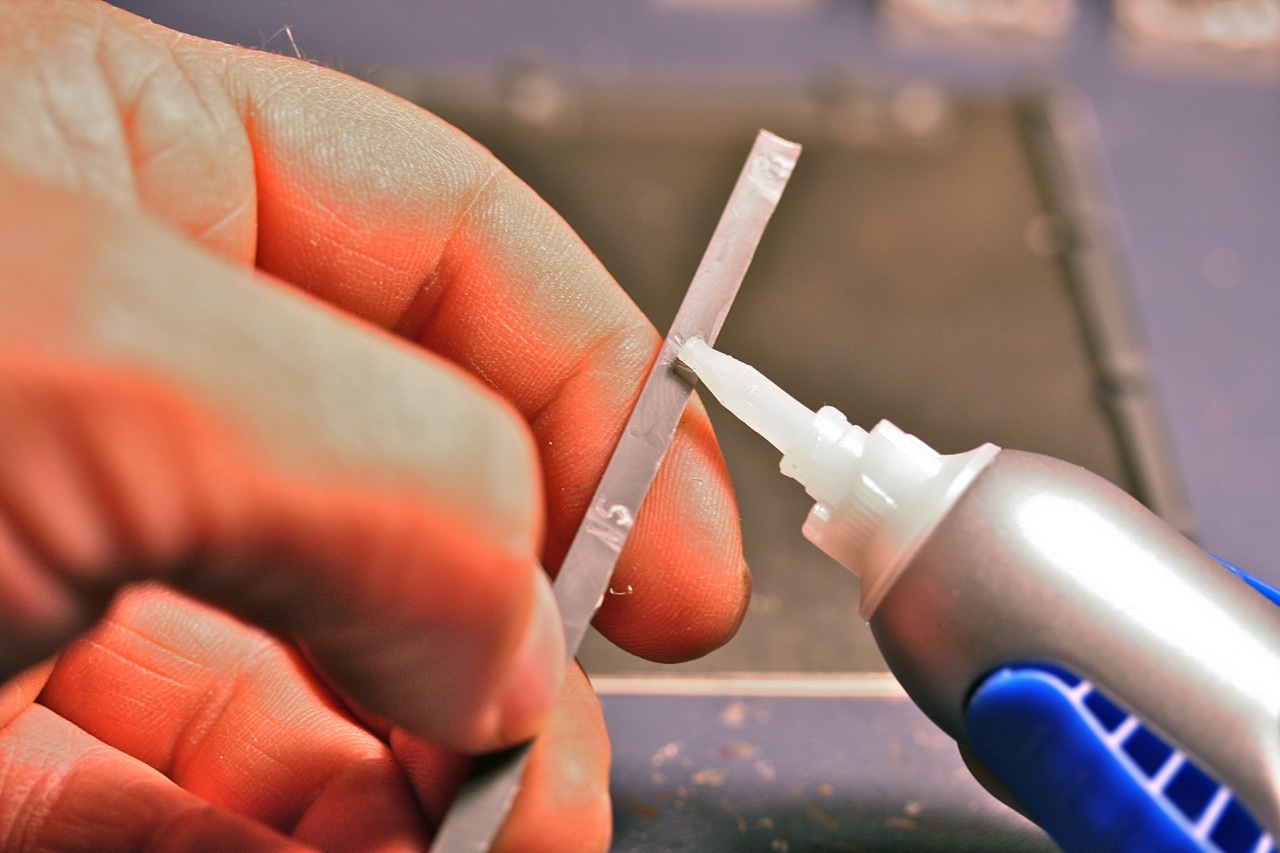
Place them on the edge of the metal, but leaving maybe a hairline of metal to the outside.
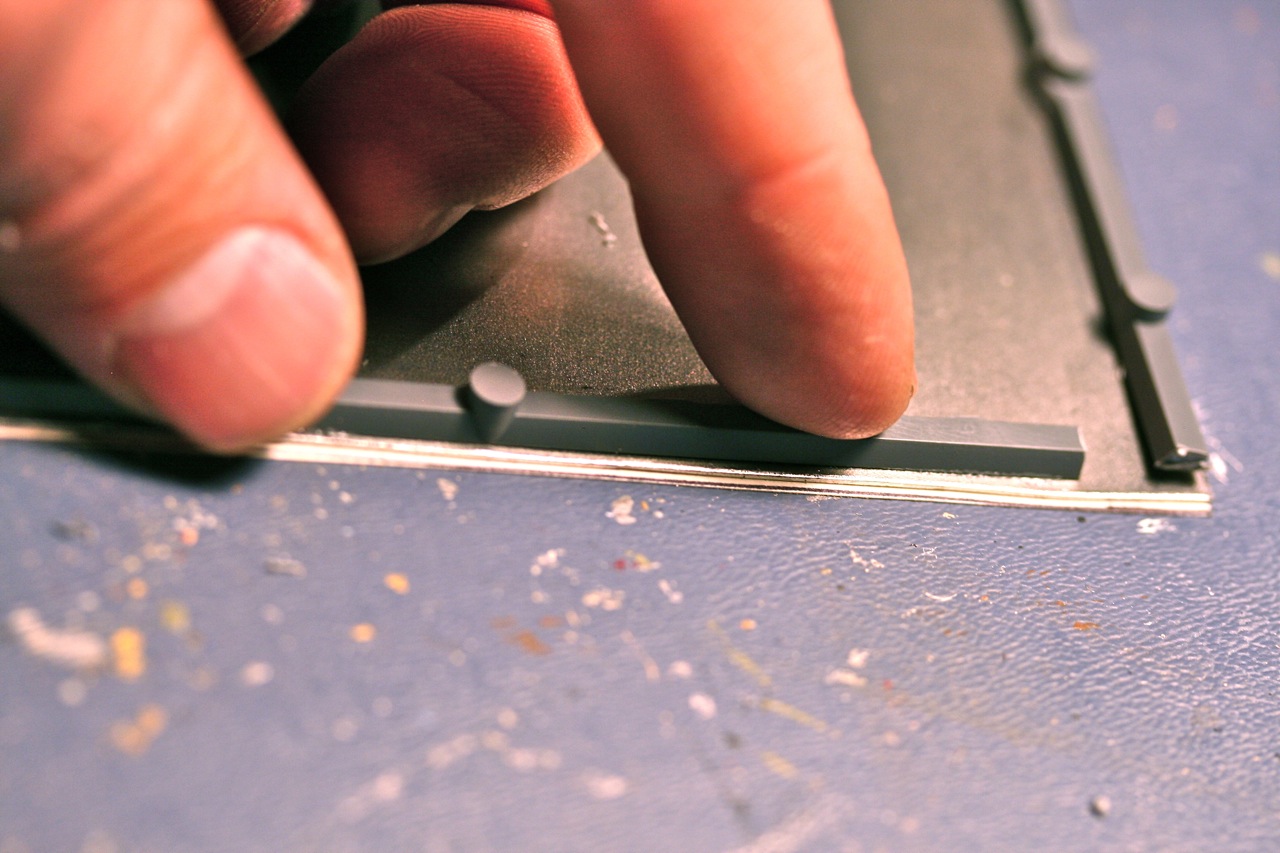
Once the sprues are placed, give them plenty of time to dry. Now you have the basic form of the tray. This is the end of Session 1.
Session 2: Build up the Fences
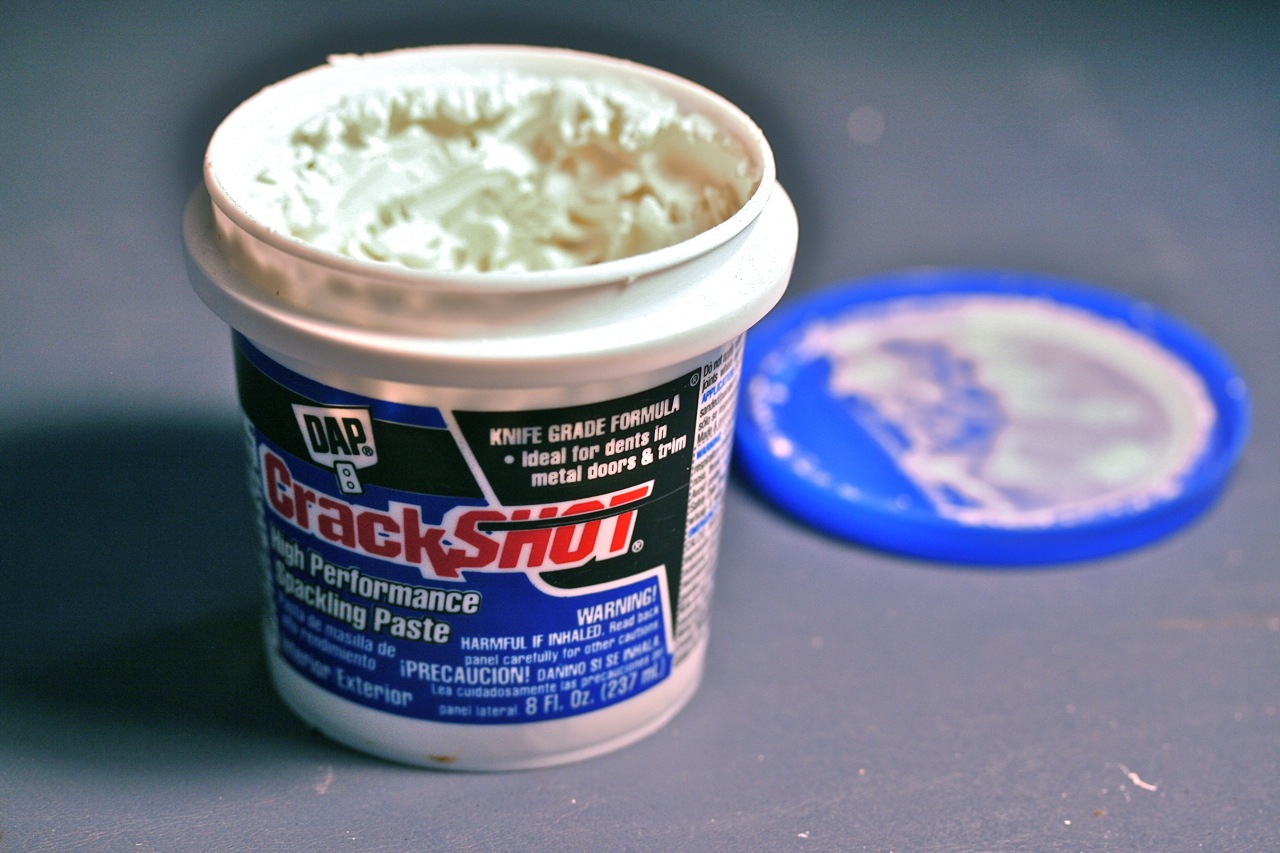
Find some spackling paste. Don’t use the lightweight spackle. It’s too dry to work with.
Start applying the paste to the sprues to build them up. This is probably the most tedious part of the process. Cover all three faces of the fence with paste. On the outside face, apply to completely cover the metal and cardstock. On the inside face, try to not add more material than is needed. On the top face, I allow for plenty of height variability, aided by the vertical bumps remaining in the sprue.

Work your way around the tray. Try to work fast enough that the spackle does not dry before you are finished. Artistically, I try to allow plenty of irregularities in the paste surface to give it some texture and character.
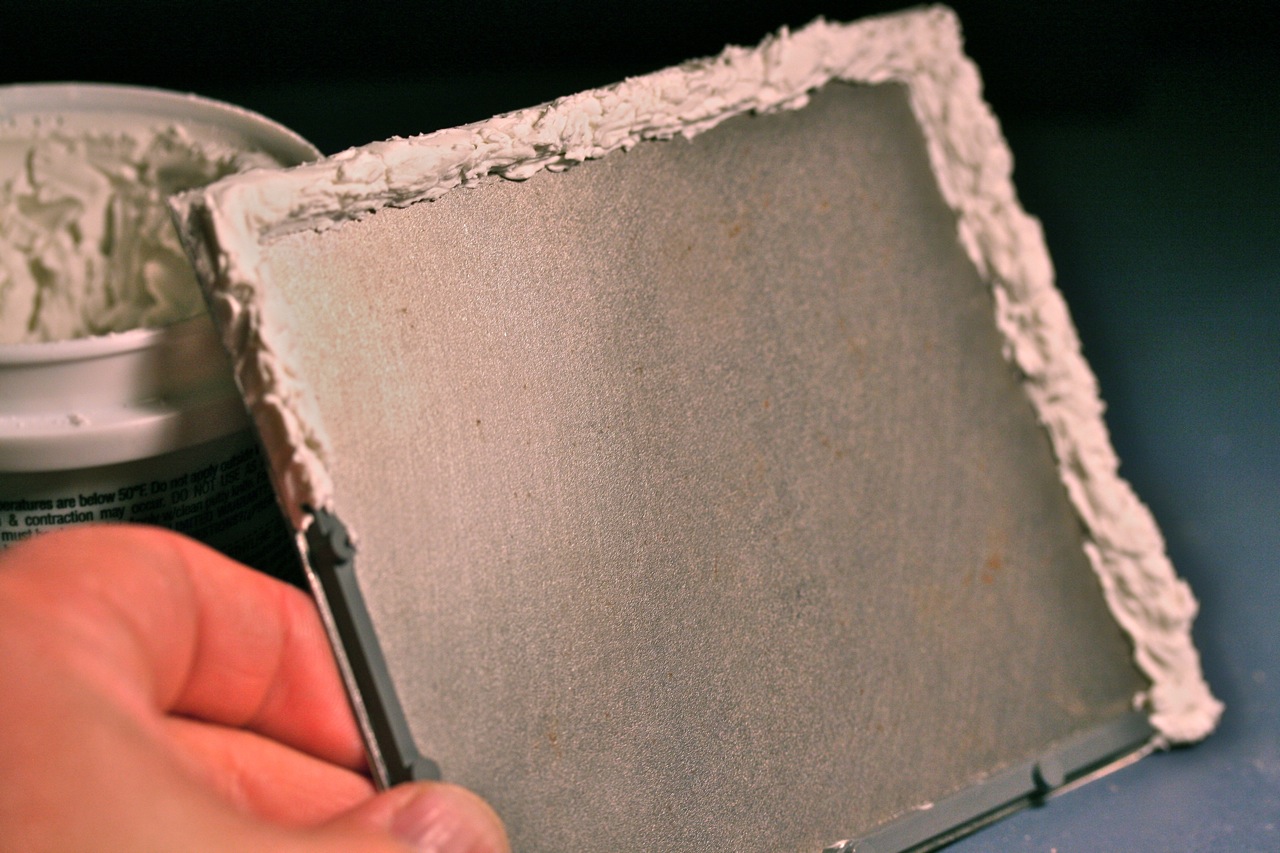
Do not add any paste to the center field of the tray. This is how it should look with all the fences covered with paste. But, you are not finished yet.
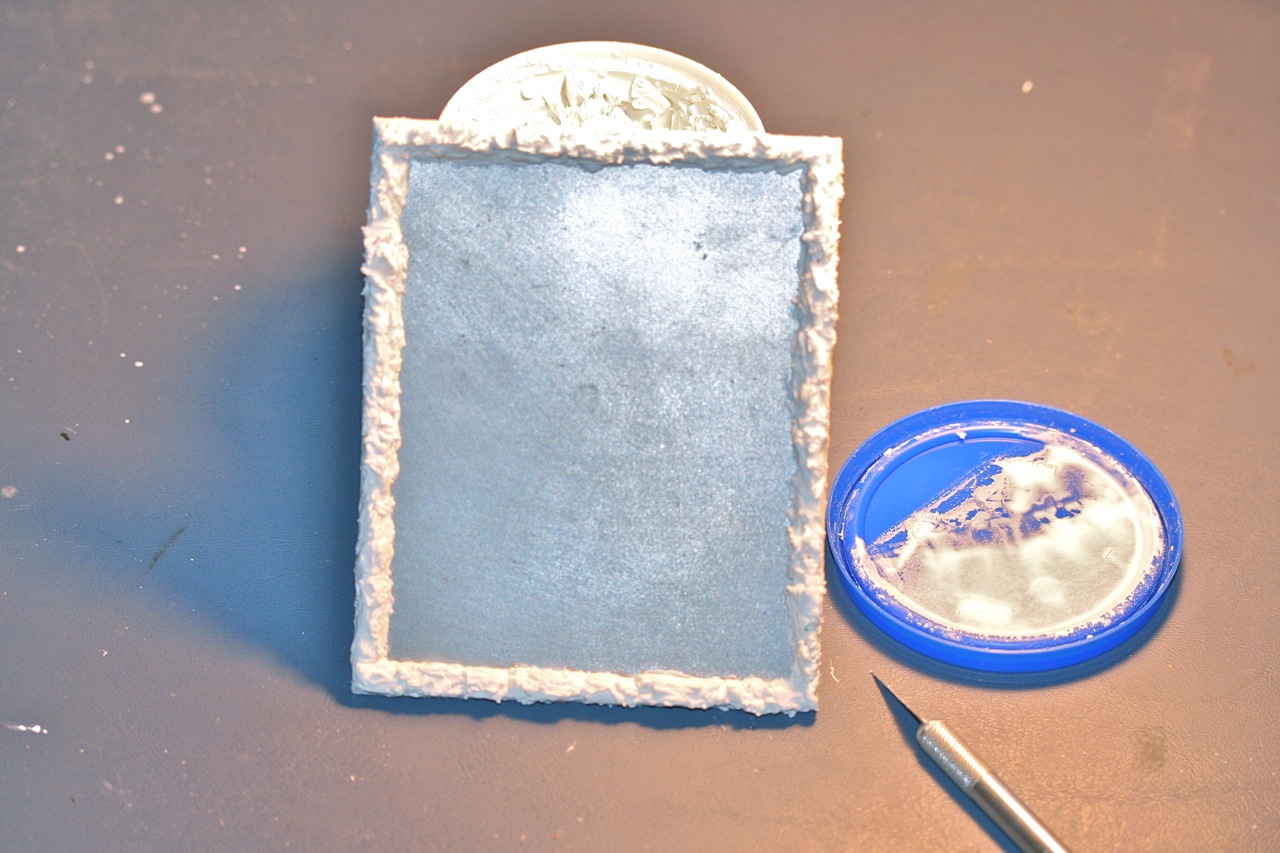
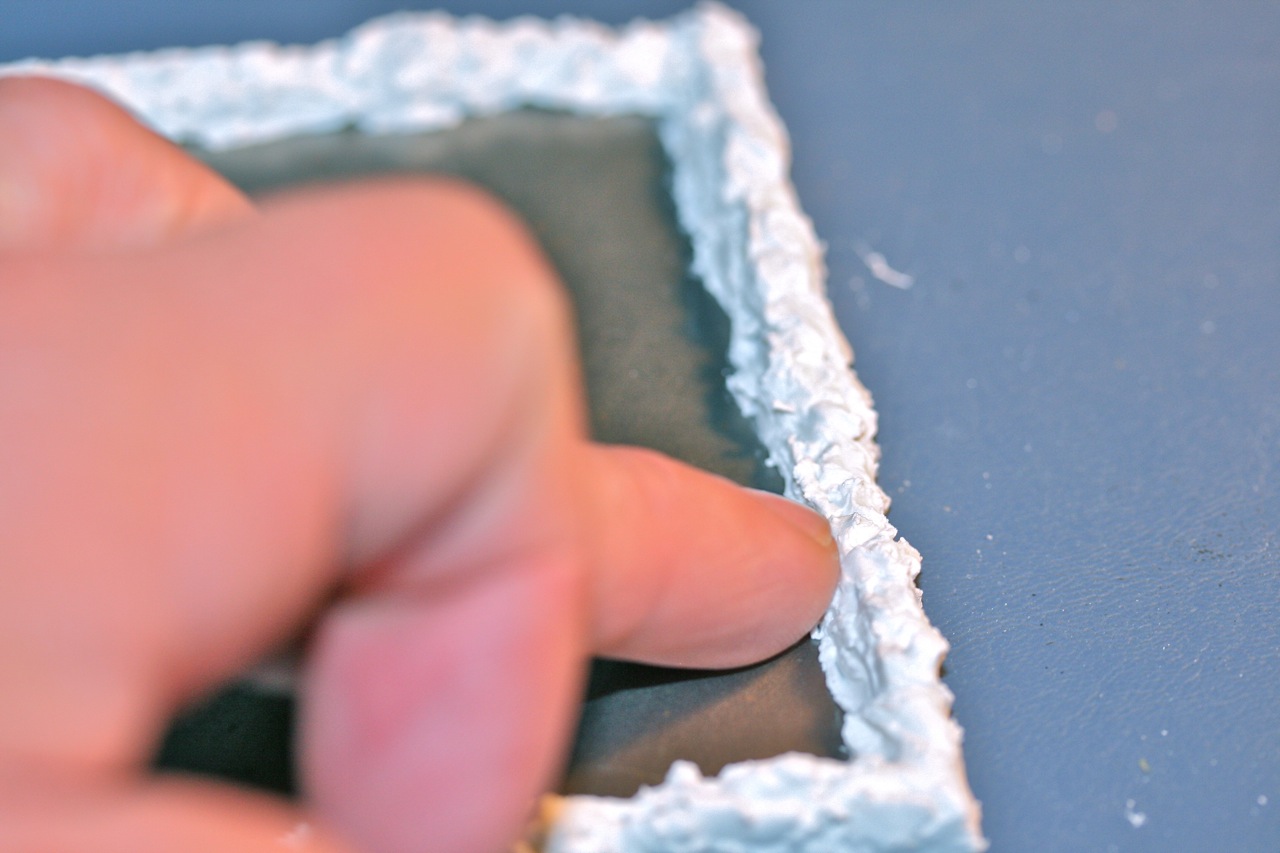
I like to go around and smooth out any sharp points in the paste with a tool or my finger. Do this before the paste dries. Make it as smooth as you like. Add any of your artistic ideas to the fence if you desire. You could add objects, inscriptions, or whatever you want to the faces of the fence at this point. When I made a tray for my Dark Elf Harpies, I added a spear, a tree stump and some skulls to the fences at this point.
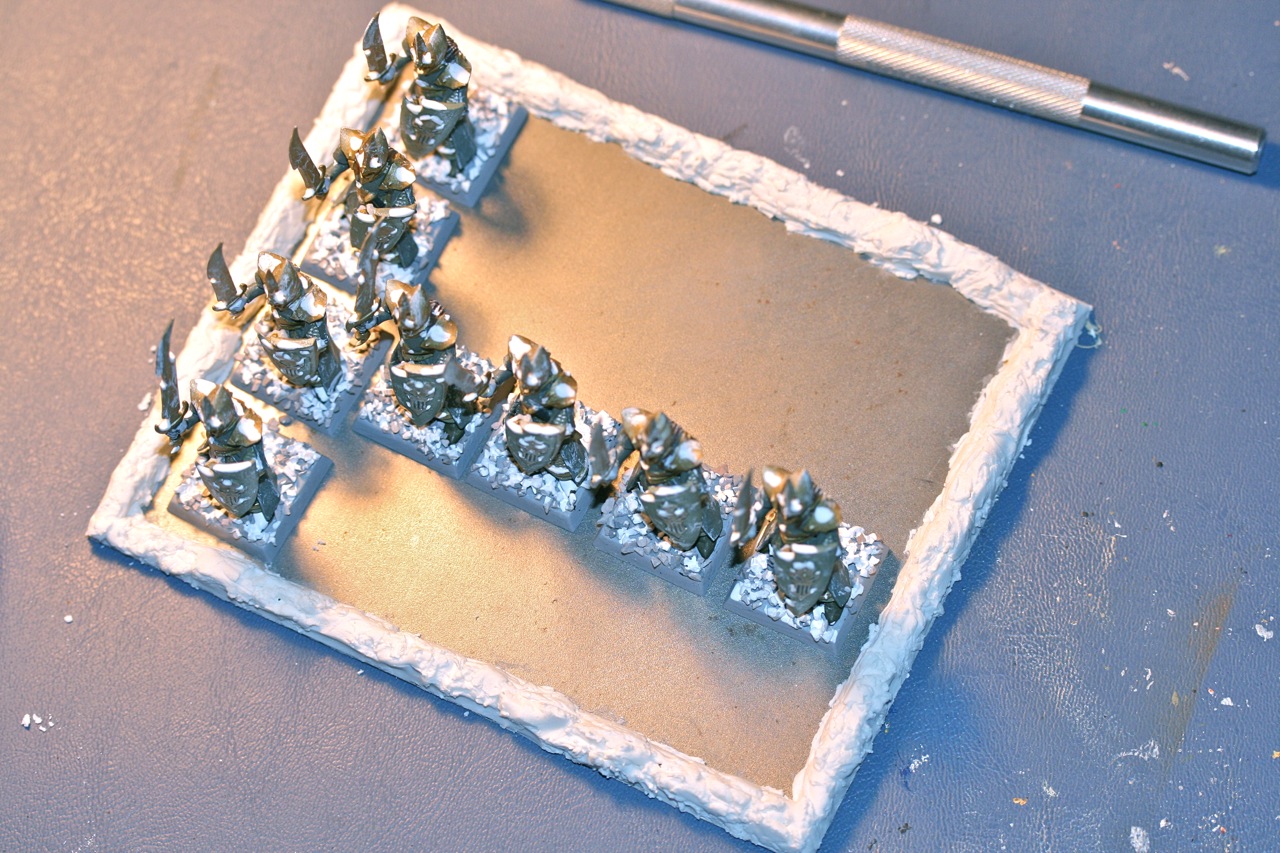
Another vital step before your fences completely dry is to check the fit of your unit inside the tray. If the space is too tight, you can remove material from the inside face much easier now than after it dries. It looks like this one will fit my Bleakswords just fine.
Now give the paste plenty of time to dry. The time required will depend on your climate. I usually come back to it the next day. This is the end of Session 2.
Session 3: Paint
Now comes the fun part. With a fully assembled tray, you are ready to paint it. You can make it blend in perfectly with the unit it was intended for.

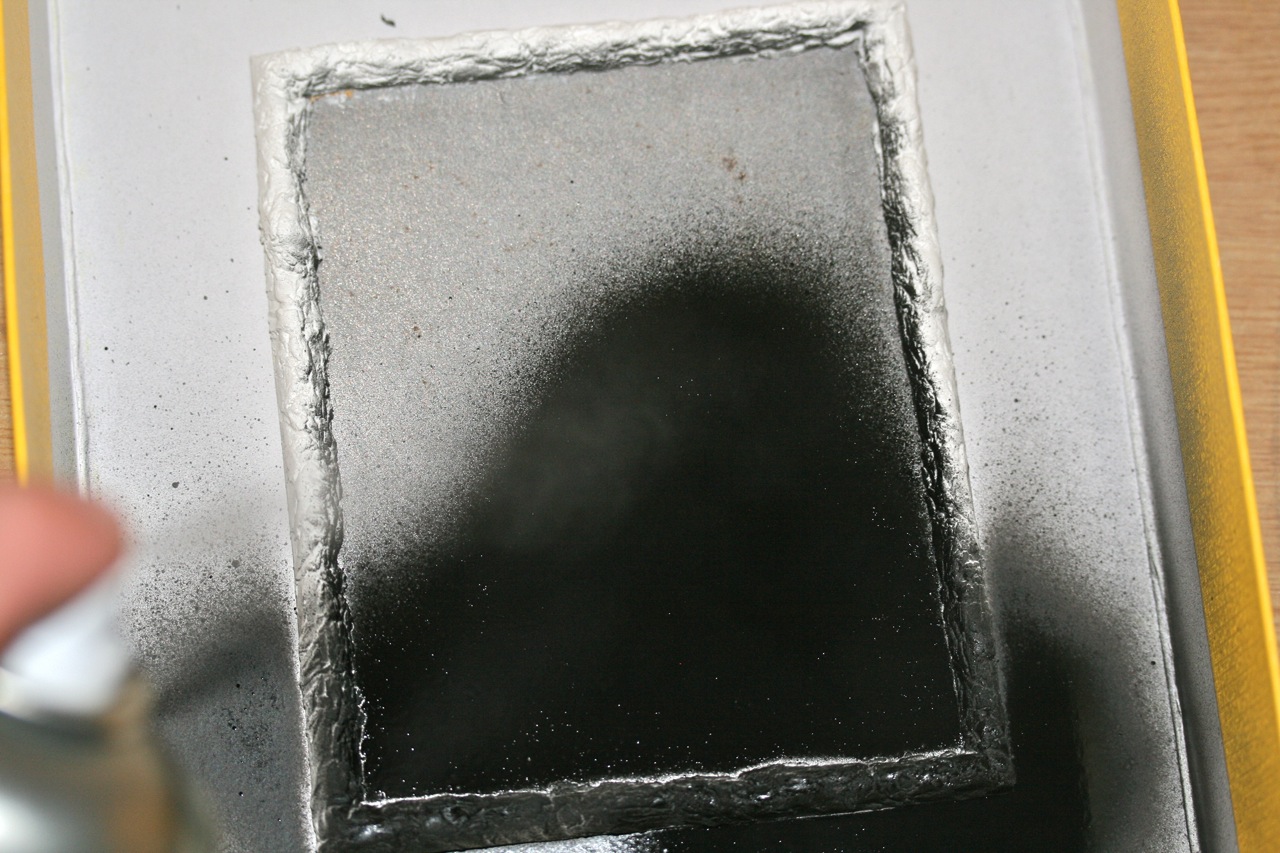
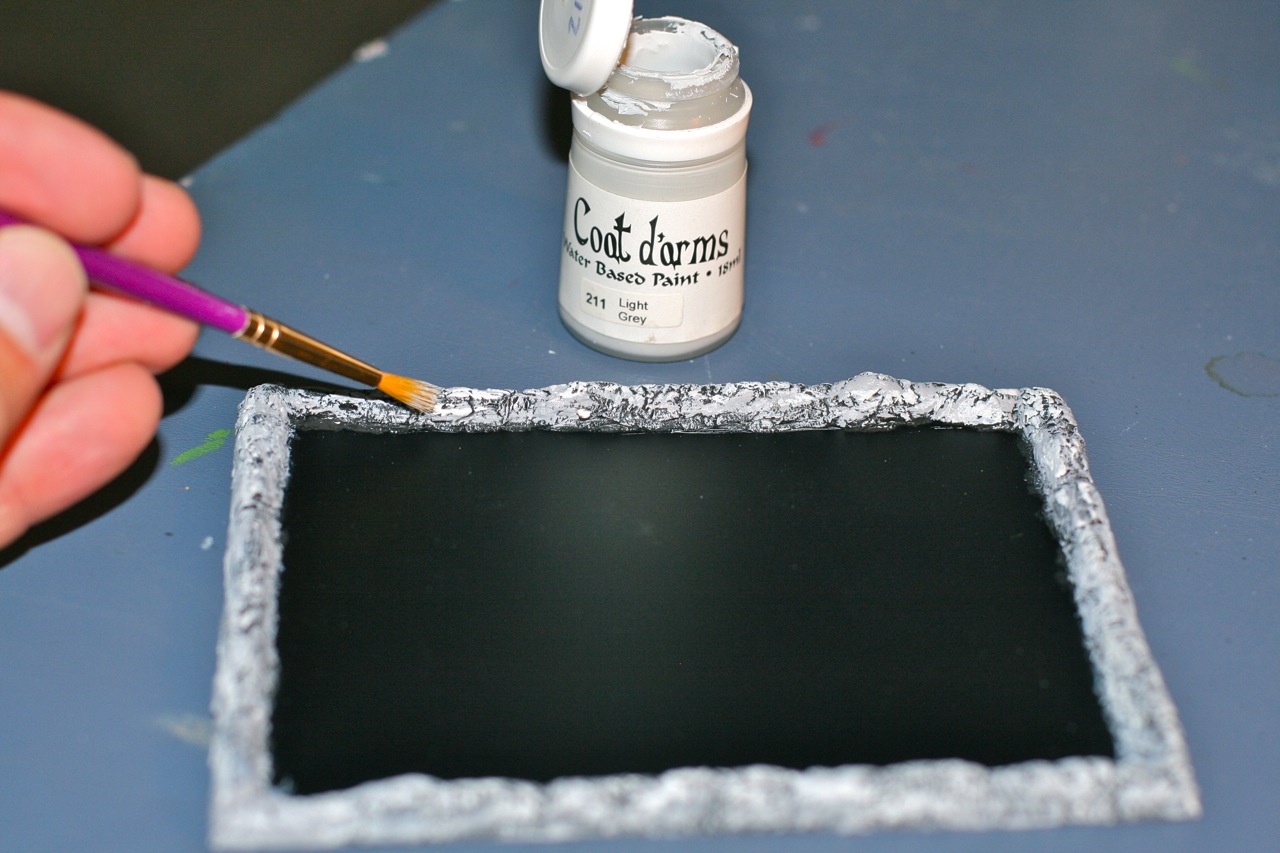
I placed this tray inside the lid of a shoebox. Then I hit it with a base coat of Chaos Black paint from a spray can. Hit it from multiple angles in order to get inside all the cracks and crevices of the fence.
Once the base coat dries, paint it up however you choose. For this fence, I am trying to mimic granite rock with patches of ice or snow on the top of the rock. I guess you could paint the flat part of the tray, but I typically just leave it black.

I try to give mine at least three colors. You put in so much hard work building it: Time to make it come alive!
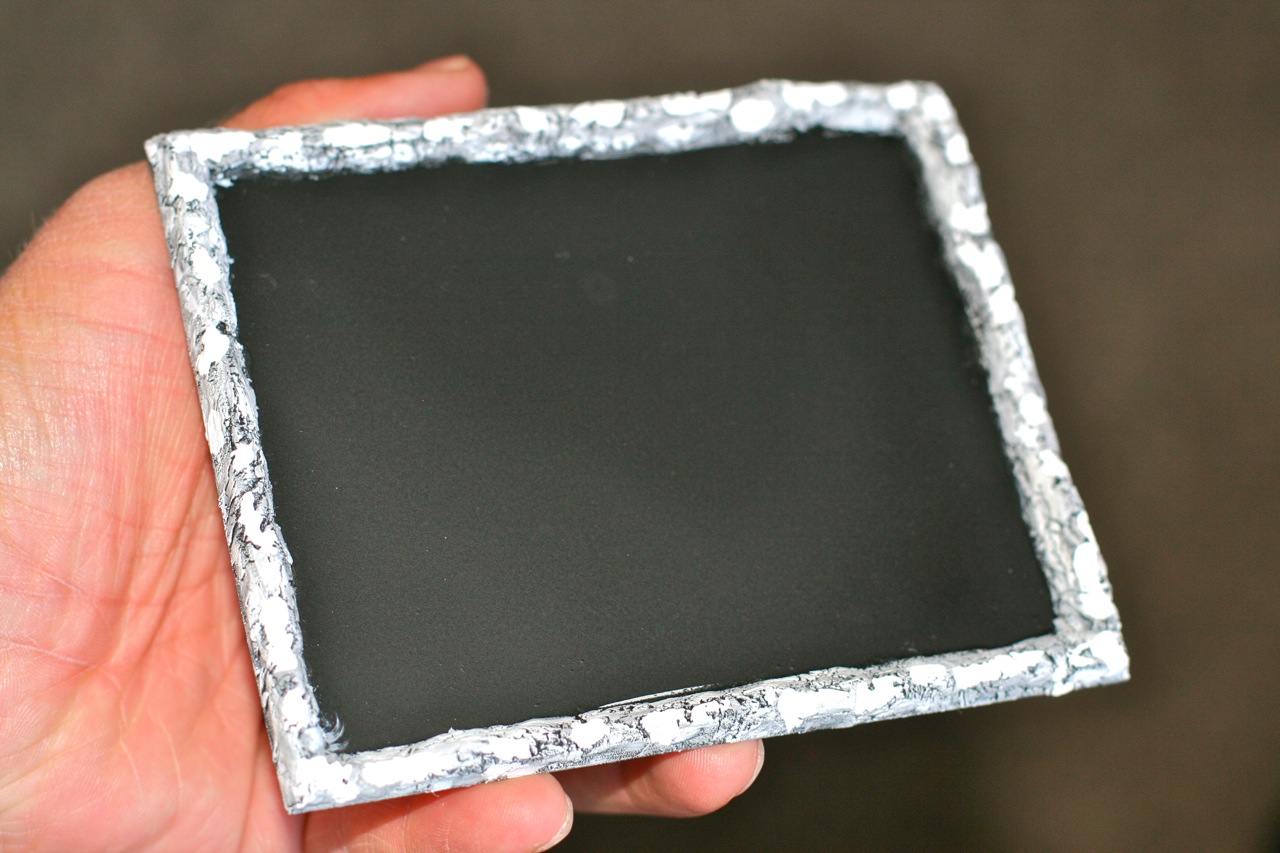
I always protect my hard work with a shot or two of Dullcote. This is just a matte finish clearcoat. Hit it at all angles; even the center where the models will be sitting. You’ll be glad you did once your unit goes off to battle.

Now for a bonus idea: After the paint and Dullcote dries, flip the tray over to the cardstock side. I like to write down all the colors I used to paint the unit of miniatures for future reference. If I want to build another 20 Bleakswords at some point, which is almost certain that I will, I can look here to see what colors I used on this particular unit. Additionally, you could write down some details about the unit, like the name of the sergeant, a banner name, win/loss record, or a unit cost. Use this convenience feature however you choose.

Guys… this tray is done! Easy. Materials are easy to find. You probably already have most if not all of the tools required. They look amazing. Made out of 22 gauge steel, this thing is solid. Put all the pewter models you want on it, and it won’t bend. Your magnetic models will attach securely to the tray. Thanks to the cardstock backing, it slides effortlessly across the table top. It is decorated to match your unit. And best of all, it’s yours. You built it. It will surely be something you can be proud of.
And for the final test…….. Place your magnetized models on the tray and flip it over. Drumroll…….. Not a chance! Absolutely no wiggles. The tray is solid. The models are attached solidly too. Yet, the models come off when you want them to. Gotta love it. Congratulations!

Technically, the tray itself is not magnetic. But, they are ready to accept models with magnetized bases. The sheet steel will easily hold even the heaviest models, if you follow my next tutorial. In my next article from The Forge, I will show you how I quickly, easily, cheaply, and discretely magnetize my miniatures. But for now, have fun building some movement trays.
One major advantage from having magnetic moving trays is that you can transport your models on the tray to and from your gaming locations. Your models will stay secure on the tray during transport. From personal experience, I recently moved my residence at a distance of over 1,500 miles. My Warhammer models never moved an inch from where I placed them since they are all magnetically attached to these trays. This amazing feat was also partly due to the magnetic storage boxes I also make. So, not only were my models magnetized to their trays, but the trays were also magnetized to their storage boxes. These boxes are easy to make. I will feature them in another future article from The Forge.
Another nice feature about these trays is that they are easily combined. Say I want to ultimately have 40 or 50 Dark Elf Bleakswords in one unit. Then I can build another tray of 30, or another tray of 20, and then a tray of 10. Or two trays of 15. Then I can slide them together to make them look like one cohesive unit. As models die in battle, I can also remove some of the trays. Personally, I don’t like seeing 12 models sitting on a tray built for 40. I think 20 infantry is the largest tray I intend to build, and then I can combine more in a modular fashion using this approach.

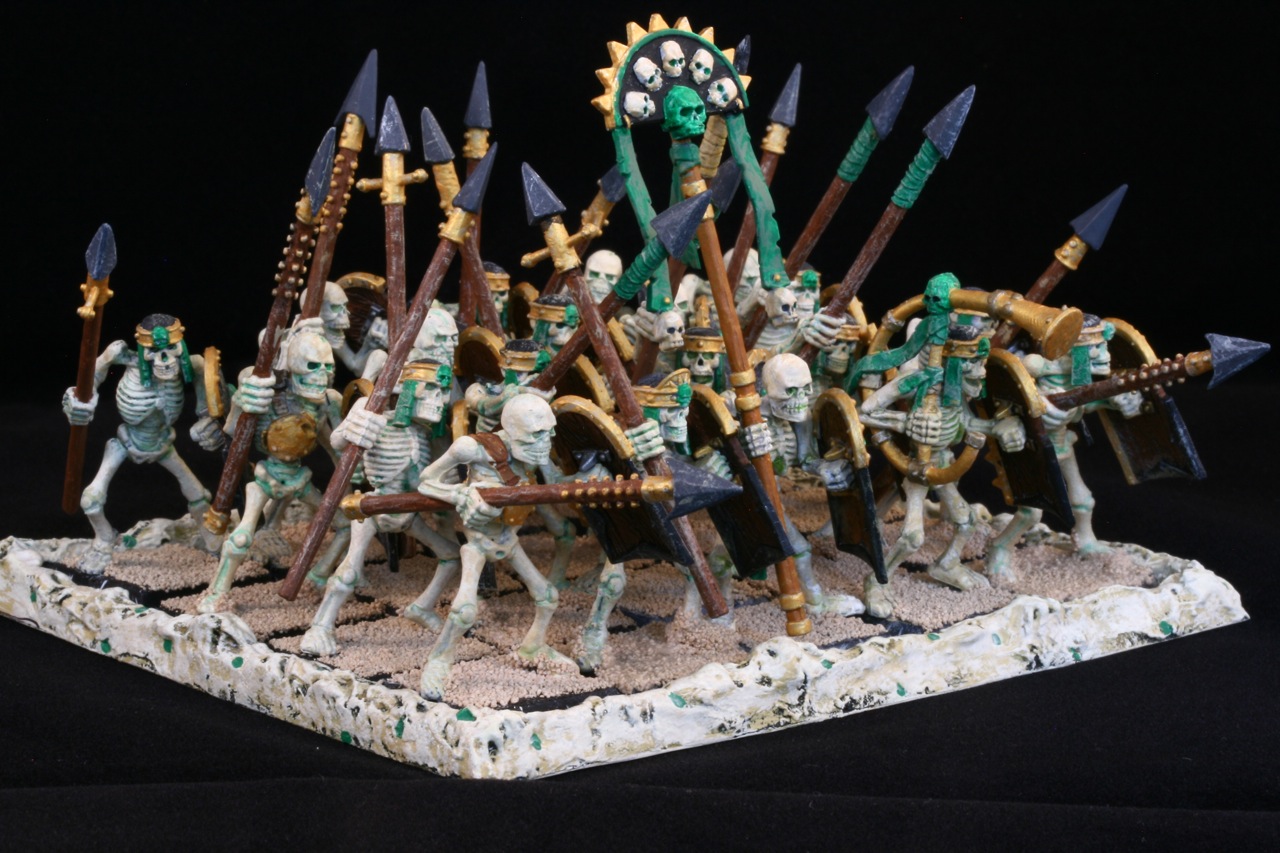
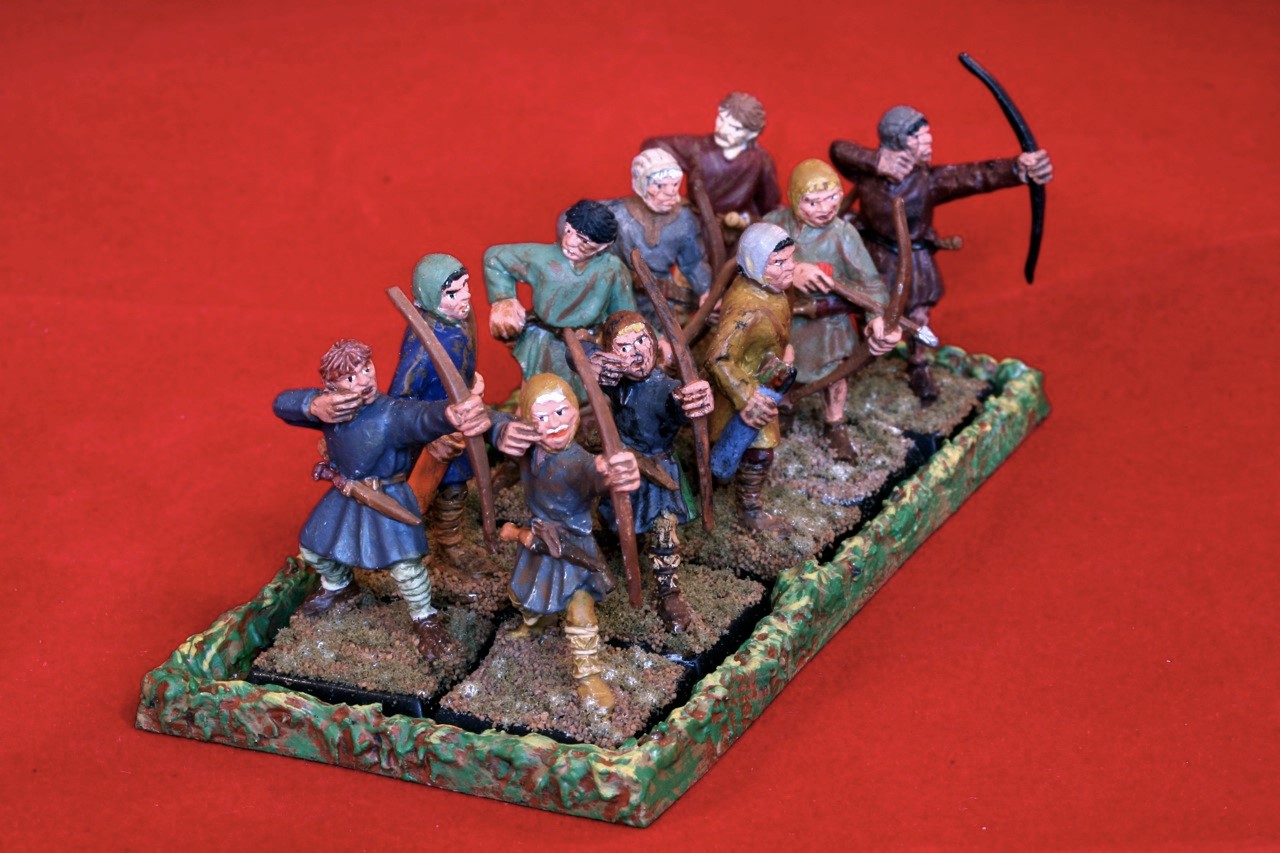
I have built all the trays for my units using this method. Browse the photos below to see a sample of my finished products. I’ve made them for units of 10, 15, and 20 infantry models, as well as cavalry and warmachine units that will be the subjects of future posts.


Great how to guide. Definitely worth a link on EEFL if you haven’t already. I’m very much looking forward to the next one as I’m planning on magnetising all my Bretonnians and although I cheated on the trays as bought pre-magnetised ones I’ll have to do the next stage at some point.
LikeLike
I’m glad this method seems useful to you. I will get the follow-up article on magnetizing models as soon as I can. I’ve been working on bringing a couple of dead water heaters back to life. One is alive, one more to go. I estimate 2-3 weeks for the follow-up article. Thanks for following.
LikeLiked by 1 person
Pingback: The Forge: Make Magnetic Model Bases – Bone Pile Miniatures
Pingback: The Forge: Make Magnetic Storage Boxes for Warhammer Figures – Bone Pile Miniatures